For a quick primer on what a power rack is, see the article on power racks vs half racks.
Table of Contents
Floor Mounted vs Freestanding Racks
First, here’s the deal with bolted-down vs. freestanding power racks…
All “home” power racks are freestanding, meaning they can potentially shift around on concrete flooring or carpet, or tip on good rubber flooring that stops it from sliding. They’re engineered very deep (from to back) to prevent tipping, which works ok if you’re using the appropriately quality of rack for the amount of weight you’re lifting. Heavy commercial grade ones don’t really have this issue for most lifters.
But nothing compares to the rock-solid stability of a rack that is bolted to concrete. Bolting it to a platform also works (see further below for tips on how to do it).
Plus, you get to do band-resisted exercises without worrying about accidentally lifting your rack up, including weird stuff like the band resisted kettlebell deadlift.
The other main advantage of a floor mounted rack is the full walk-through design. No rear cross brace to trip over or get in the way of your bench. It’s a real issue when setting adjustable benches to incline position in those freestanding racks. The rear cross brace almost always gets in the way at some point unless the bench is specially designed to get around that problem.
Anyway, before 2010, floor mounted power racks were hard to find at an ok price online. The mass produced ones were almost all freestanding, or you would pay dearly for a full commercial floor mounted rack.
Then in 2010, Rogue came out with their R-3 power rack, making them easily available to the masses for the first time ever. The basic R-3 design is not new. Welders and powerlifting coaches like Louie Simmons of Westside Barbell already had most of it figured out. But now it’s mas produced at a decent price… which means there’s a market for it now, which means other manufacturers jumped in. Or one did, anyway. Titan Fitness.
So let’s compare the most basic floor mounted racks from Rogue and Titan.
Quick Comparison
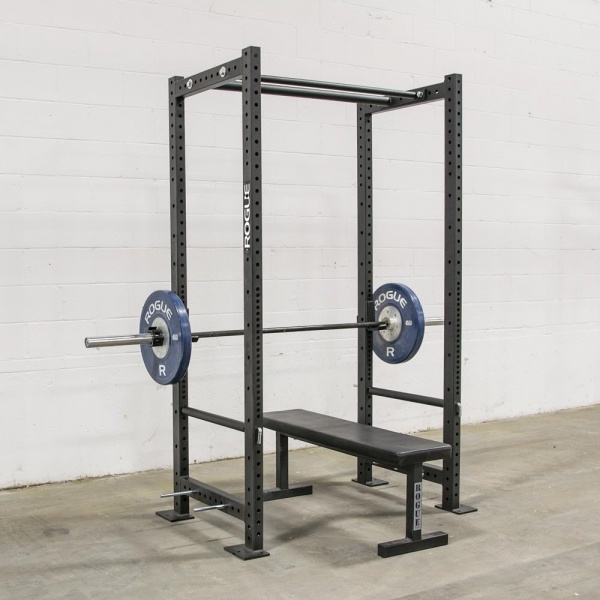
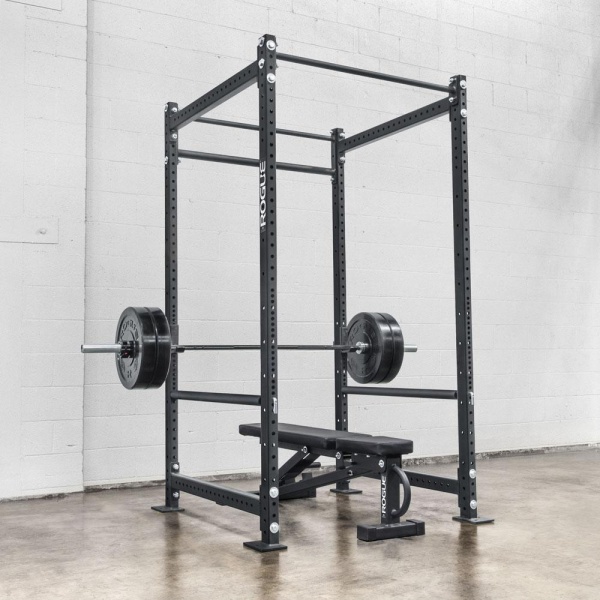
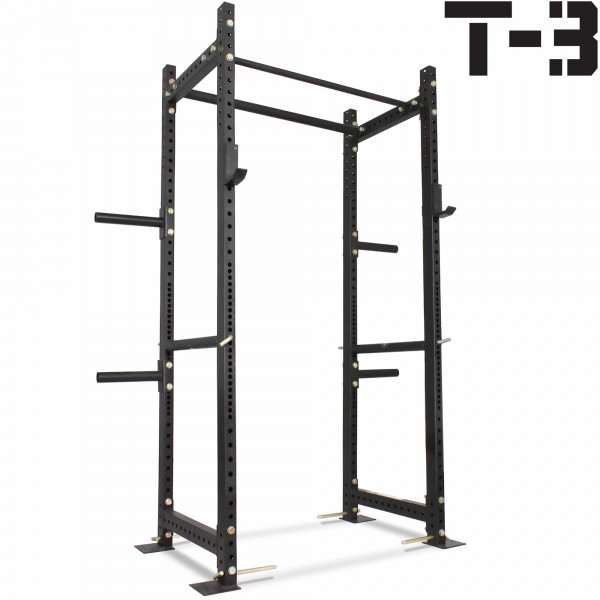
| Rogue R-3 | Rogue R-4 | Titan T-3 | Titan T-3 Deep | |
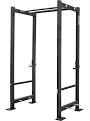 |  | 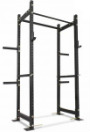 | 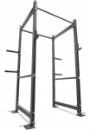 | |
| Outside Width | 49″ | 49″ | 46″ | 46″ |
| Working Room (Front to Back) | 24″ | 43″ | 24″ | 36″ |
| Pull Up Height | 90″ | 90″ | 84″ | 84″ |
| Price | $825 | $1,120 | $489 | $529 |
All the racks above come standard with:
- 11-gauge 2″x3″ tubing
- Pin & pipe safety bars
- Standard & fat pull up bars
Bigger shots of the racks:

Detailed Considerations – Rogue vs Titan
Design Quality
Titan is newer on the scene and has been known to have some flaws in their racks in the past. Thankfully they have gotten lots of feedback over the last few years and have upgraded their designs to eliminate these issues. The T-3 has seen improved welding, better hole drilling, a better finish, thicker connector plates, better J cups, and better pin pipe safeties.
One flaw still in the Titan T-3 is the silly plate storage pegs on the rear uprights. You can’t do that. They’re in the way. Storage pegs require additional uprights beyond the rear portion of the rack. So just don’t install them, or try installing a pair low on the rack if that’s out of the way enough for you.
Shared Features
All racks include pull up bars in both 1.25″ standard thickness and an extra-thick 2″ for a focus on grip training.
Pin and pipe safeties are the current standard, because you get a solid steel bar inside an impact-resistant plastic sleeve that protects your bar from getting its carefully cut knurling damaged. All the racks have these as well.
They all have Westside hole spacing, ie: 1″ spacing on the uprights through lower heights and 2″ above that. This is to help you set the safety bars at the perfect height for bench pressing, while higher up you can manage with 2″ spacing just fine. This is something that was presumably pioneered by Westside Barbell.
Rogue offers an optional rear lower crossbrace as a stabilizer to prevent wobble, which is necessariy a part of freestanding racks. You really should not need it on a floor mounted rack. All I can figure is they offer it on the Echo racks too, where it makes a little more sense. It’s actually a huge negative, because one main reason for a floor mounted rack is the walk-through design that eliminates the possibility of the rear crossbrace getting in the way of a bench or when you step forward to rack a squat.
Some consideration should be given to the attachments available for providing more exercise options. Rogue is known for having a lot of nice attachments to their racks. But with our power rack attachments compatibility charts it’s no longer much of a factor to get a desired attachment for any of these.
Height & Pull Up Bar
The racks are about the same height overall.
Inexplicably, Titan decided to move their pull up bar down the frame to 84″ (or exactly 7′), which is a good 6″ shorter than Rogue’s 90″ (or 7’6″).
A “good” height depends on your proportions. Raise your arms over your head and see where your grip is. People 6ft tall will need to bend their knees with either of these racks, making kipping pull ups not an option.
For short folks, you have a rare advantage in these 7′ or 7’6″ pull up bars being just above your reach for easy full range of motion pull ups and even kipping pull ups. Floor mounted power racks are ideal for kipping pull ups, too.
Outside Width
Most 7ft bars are about 52″ between the collars. The rack needs to be narrower than that. We are human and we need some wiggle room because we never re-rack the bar perfectly center. Anywhere from 46″-49″ is personal preference. Any narrower and you start to get cramped, or your bar can get unstable when loading it.
Rogue and Titan represent the wide (49″) and narrow (46″) end of that range, respectively. Either works. I don’t have a preference. Even with sumo stance you can get your feet under the Titan’s side frame, so that’s not an issue.
Note that many racks give dimensions that show the “width” as the overall width that might includes parts sticking out such as feet or storage pins. That’s useful to know if you’re tight on space, but here we’re talking about the width that accommodates the bar.
Inside Depth
This is the difference between the Rogue R-3 and R-4, and between the two Titan racks (they are both called the T-3).
It’s the front to back working space you have inside the rack. The 24″ depth of the R-3 and T-3 (24″ version) is quite usable for most exercises but to some people feels cramped, considering you have to keep it away from not only the rear uprights but even more so the J cups you’re lifting off of. Not fun to hit the bottom of a J cup on the way up. Plenty of people have bought the R-3 and like it fine.
The R-4 and larger T-3 have significantly more depth (43″ and 36″, respectively) to allow for a large arc of motion such as for clean pulls, lunges or good mornings.
Not Shown Above: Echo Racks
As you may know, all Rogue’s “Echo” equipment is a step down. Still ok, but they’re clear about it being a step down. Rogue is reaching out to home garage gym users who find their equipment too expensive.
In this case the Echo racks (RE-3 and RE-4) have:
- Smaller 2″ square tubing
- Narrower width side-to-side
- No safety bars included standard
- No Westside hole spacing
You have the option of paying extra for safeties. If you don’t want safeties, why wouldn’t you get a cheaper S-series squat rack instead of paying for the extra pair of uprights that don’t serve a purpose? It’s just weird for a power rack to not come standard with safeties.
In the case of the RE-3, with safety bars you’re only $74 less than the R-3. The RE-4 is a different story. Big price difference vs the R-4 even after adding the safeties.
Still, when you compare either Echo rack to the Titan versions, the Titan is the easy choice because of Titan’s 2″x3″ tubing. It makes for a much more stable, rock solid feeling rack. If it were only a matter of price, you might go with the Rogue because their quality control is so good, they’re such a trusted brand, and they have such good attention to detail. But when you’re comparing the Echo’s 2″x2″ vs Titan’s 2″x3″ tubing also, Titan’s got the Echo racks beat.
Installing Floor Mounted Racks
Two methods: To a platform (or two layers of 3/4″ plywood) or into a concrete floor.
Into Concrete
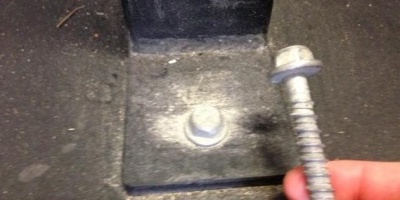
It’s fairly easy. Rogue’s anchors are a type of screw you insert into a drilled pilot hole with a socket wrench. A typical drill for the screw won’t do the job, because going into concrete requires pretty high torque even with the right sized pilot hole.You can remove the screw should you ever need to.
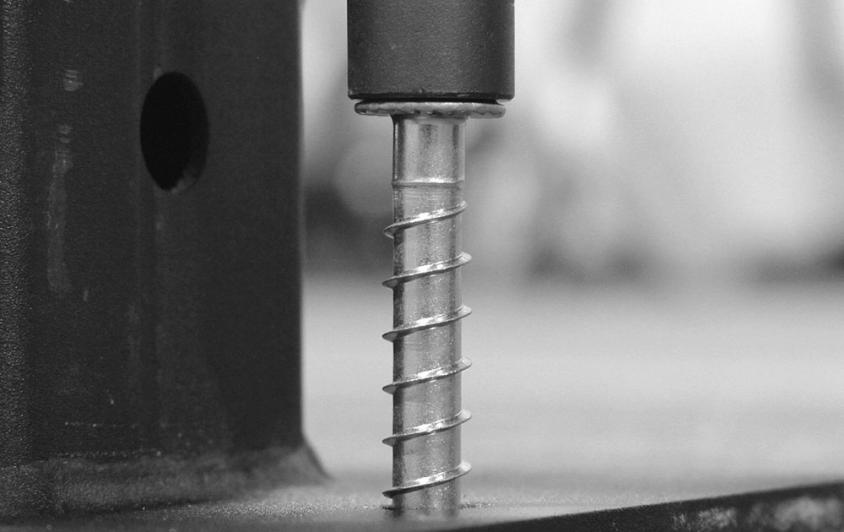
If you get some elsewhere, Rogue’s are 3″ long with a 5/8″ hex head. That’s about what you need. Most you’ll find for sale are narrower or don’t have a hex head for a socket wrench.
Other options can hold better, but you don’t need anything stronger than a good thick concrete screw. Power racks are not considered a heavy-duty application as far as holding requirements. Heavy duty is more for industrial machinery. In addition, other anchoring options like drop in anchors, wedge anchors, etc., aren’t made to ever come out cleanly. Pieces will stay in the concrete forever.
It’s best to NOT bolt through rubber flooring on top of your concrete. Trace and cut holes for the feet instead. Good rubber flooring is pretty firm, but bolting to the bare concrete will make for a more stable surface for a rock-solid feeling rack.
Into Wood
You can do this if you don’t want to defile your concrete or you have a big lifting platform that you want to mount onto.
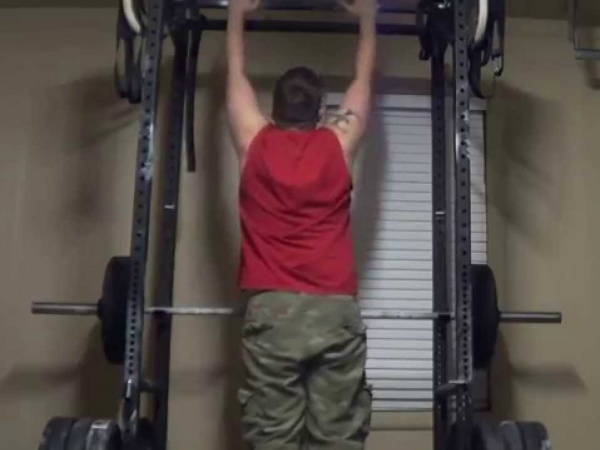
Normally, lifting platforms are set in front of a rack, and the right sized wood tongue goes into the rack, as shown:
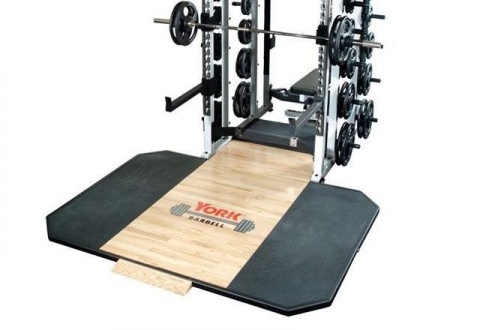
But you can go right ahead and drill into plywood if you like. Be sure to get enough plywood not only to fit your rack on but also for your bench.
If you’re using 3/4″ plywood, you need to double it up so as to make it heavy enough and stable enough to mount to.
You could use some wood screws. Or even better, if you can manage to lift the platform up, hammer a T-nut into the bottom of a pilot hole and you can screw a bolt in from the top. A nut and bolt is always more secure than a screw for something like this.
If you want a quick minimalist project, you can literally just bolt it into two sheets of 4’x8′ plywood, or better yet, criss-cross two more sheets on top of that. Rubber is optional, for those of you doing deadlifts or olympic lifts and in need of a lifting platform for that as well.
Be sure to get very good flat pieces of plywood, nothing warped!
Heard anything about the Bells of Steel – Utility Power Rack?
I haven’t, only their Light Commercial rack as the closest one to it I guess. I’ll have to look into their Utility rack. Here’s a pretty good review of the Light Commercial, just to get an idea of build quality etc.
https://youtu.be/IJ8TMtKQy5M
If you bolt an R-4 power rack into concrete, is it possible to unbolt it and move it later if you’d like to?
Screws like the ones Rogue sells will come out the same way they went in. If you use some kind of concrete wedge anchor, those are made to stay in permanently and you have to break them off.