Table of Contents
Introduction
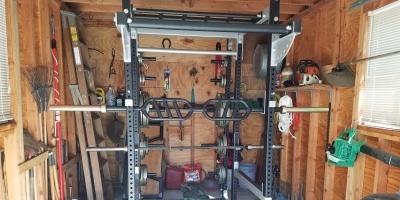
Hello to all the iron brothers and sisters out there, Tony strikes back again with another review, this time on the true center piece of every true iron warriors domain…the coveted “Power Rack”.
Lets get straight to the point, the power rack is not only a sturdy structure, but gives you multiple adjustment holes spaced for the J-hooks to be placed to rack and un-rack the loaded barbell at the proper height for many lifts (with a double, or triple set of J-hooks even better to personalize each exact height of your different lifts), but the power rack saves lives as well with its safeties adjusted properly for the bottom portion of your lifts in case you have to bail and is an invaluable tool and should be an integral piece (along with an olympic sized barbell, plates and bench) to every true lifter’s arsenal.
With the above, all too important “Public Service Announcement” mentioned, here’s the story of how I chose my power rack at the time and why I went the route I did…
First I should start by saying that the features/options and varying pricing on power racks and their companies are nearly endless and while what I mention is clearly my opinion and will vary from person to person, in my experience this is what I ultimately chose as my power rack choice.
Between 2012 and 2013 I decided to upgrade my lifting equipment and take my lifting to another level and had saved up enough for a new potential power rack (with some help from selling some of my older, cheaper lifting pieces)…Long story short, I didn’t care too much for the first particular 2X2 11 gauge rack I had bought and didn’t think the quality matched what it cost, so I sold it after a few years of use and had a plan to go the custom route…
Jump to 2015 and numerous communications about technical specs and possible features discussed with a custom fabricator who built it for me at the time and I finally got my dream power rack on the second purchase.
My custom power rack (while geared to my desired specs) was heavily inspired by Rogue’s style of racks (particularly the R-6 which was perfect…had holes all over for pretty much unlimited accessory connection points and was bolt-together, but a bit too long for my garage space which is where it had to go, so it wasn’t an option for me). The other inspiration was the Sorinex Dark Horse when it was cheaper in price, but then their pricing went significantly higher as the popularity of that rack grew and it was welded (which I preferred not to deal with if I ever needed to move it somewhere else), so I went the custom route and with the K-brace up top, the lower rear cross member, the hardware, all the backer plates, pull up bars and the heft of the actual rack and weight storage area, the rack weighs more than the Sorinex DH which was just what I was looking for so it would be tough, extremely sturdy and not have to be bolted down.
Horse Stall Mats
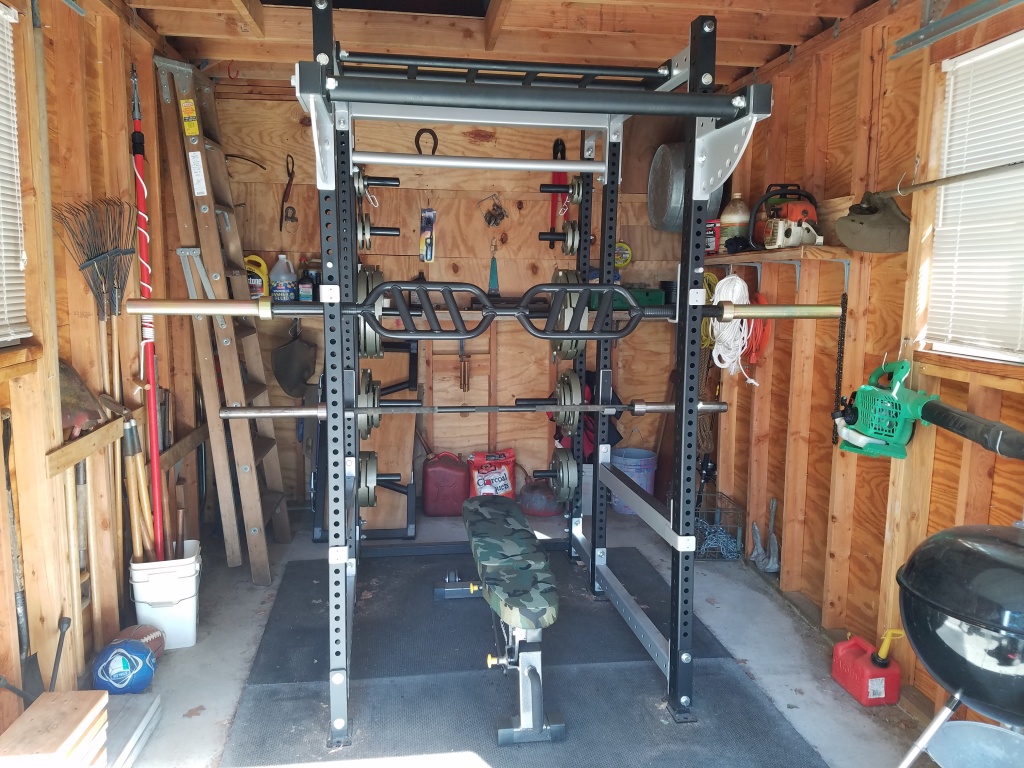
Before getting my power rack, I bought two 4’x6′ horse stall mats and placed them on the concrete floor in the garage directly next to each other length wise (the 6′ side wide and the 4′ side length wise), then when I got my rack I just assembled it right on top of the stall mats. These are heavy duty and I had no problem with the plates making contact with them (I don’t do olympic style lifting, so any contact would be from barbell rows and deadlifts inside the rack).
Warning! Horse stall mats are about 100 lbs, 3/4″ thick and awkward to drag around due to their dimensions, I would recommend getting two of them (I picked mine up on two separate occassions) and be sure of where you want to place them (because they are a complete pain to move around).
Some people combine them with plywood to make a platform which is nice, but not needed (my concrete floor in the garage and the mats have held up just fine the way they are…this might depend on the type of lifting you do, but for strength and powerlifting purposes where you aren’t dropping the bar from higher heights, I see no issues).
Also, depending on your power rack and how it’s built you might, or might not want to bolt it to your platform/concrete floor (I opted for a rack with enough support to not need to be bolted down), most of the big companies and custom shops keep this in mind with their nice “overbuilt” options and will still have the racks feet with the holes to bolt them down should you ever want to.
3×3 vs 2×3
The all too important power rack battle of 3X3 11 gauge steel, or 2X3 11 gauge steel (I didn’t want 7 gauge steel so that was one option less to think about)…that said the primary standard 11 gauge steel is what I went with, then came the thought provoking battle of 3X3 and 2X3.
My mind was set on 3X3 due to its bit more heft, traditional squared structure/more common shape for attachments and ok even its aesthetic appeal…but as the process was getting closer and I was up next on the list and discussing and confirming options and beneficial features, I opted for 2X3 because of not only the heft (based on the dimensions I wanted), it’s heavy enough to stand on its own with no bolting down, but also you get the extra inch of space for the barbell when racking, un-racking and adjusting it in the J-hooks, plus from seeing 2X3 racks in pics and my own in person, it still looks just as aesthetically nice as the 3X3s (technically I have a bit of everything on this rack anyway… 2X3 rack and weight storage area, 3X3 K-brace up top and 2X2 lower rear stabilizer cross member where the weight storage area is).

Dimensions
I decided on 90″ in height, 43″ width between the uprights (with 2X3 uprights for an extra inch of bar space in the rack), rack footprint is 47″ in width and 42″ rack length (by itself) and overall footprint with weight storage attachment bolted 60″ in length.
Space from Front to Back of Rack
30″ between the front to rear upright is very common and more than enough space, but I went with 36″ (3 feet) just to be sure of it and in theory to make the rack even more stout, in fact I’m appreciating this slight stretch in space even more cause lately I been keeping the Football Bar on the other set of J-hooks and still have enough space to squat even with the wider bar frame in there.
5/8″ or 1″ Bolts and Holes
Here you have two more than strong enough sized bolts and hardware, since I went with 2X3 sizing 5/8″ bolts and 5/8″ holes were the standard choice for that size tubing, but even if I went with 3X3 (at the time the hardware choice if going that route was a tough decision), but I think I would’ve probably still selected the 5/8″ bolts and 5/8″ holes anyway because accessories of that size cost less and that hole size is compatible with other hardware from companies such as Rogue for example which has a lot of nice attachments/accessories, plus there are some nice custom shops that make this size as well.
The 1″ bolts and holes are nice too and complete overkill as well as their attachments, which rocks and I like overbuilt pieces as much as the next lifter, but seeing as how 5/8″ won’t break down at all as well and that 1″ attachments cost significantly more (due to the different size) for the same accessories, I was good with the 5/8″ hardware (companies such as Legend, Sorinex, Reflex and Rogue’s Monster line accessories should all be compatible with each others racks with the 1″ hole size if going that route).
On a side note, it has been notoriously mentioned in the past that 1″ hardware is more common among a lot of companies which makes for easier compatibility of 3rd party accessories and also cause sometimes 5/8″ accessories can have a looser fit in power racks with 1″ holes, while the 1″ accessories can’t fit into power racks with 5/8″ holes, that’s why some people go with 1″ holes and hardware (aside from its massive hardware)…however with companies like Rogue, Titan, Elitefts and certain reputable custom fab shops for example staying strong and in business, there’s no need to worry about trying to find extra accessories in 5/8″ as well!
Editor’s Note: See the power rack accessories compatibility list to see which accessories by Rogue and others will fit your rack.
One other thing to mention with 5/8″ sized holes is that it can allow closer, more personalized hole spacing (aside from 2″ space, or further…where as with 1″ sized holes it’s farther, with 2″ spaced being the closest and in some cases you might need to get offset J-hooks and/or safeties if you want more closer personalized hole spacing with the 1″ sized attachments).
Bolt Together or Welded
This has been debated time and time again on their structural integrity, when built right they are both just as strong as each other, Neither is gonna break down!
After dealing with a welded rack on my first previous purchase, I’d rather have bolt-together and went with that option cause it’s easier to take apart and move piece by piece (if needed) and still you have the option to keep each side panel of the rack and/or weight plate storage bolted as if it was welded so you get both options this way, the only thing you’re required to do is to build it from the start if going bolt-together (which is slightly more elbow grease due to the extra parts, but not so bad).
Hole Spacing
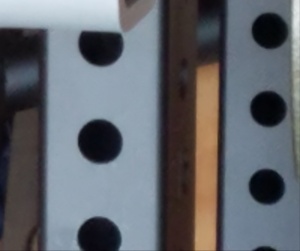
The custom 2X3 rack I own has 1.5″ hole spacing and to me adjusts perfectly, after dealing with “Westside’s” 1″ hole spacing in the bench area, it was just too much of a hassle in my opinion (having the rod and pipe safeties at that time didn’t help neither).
I definitely favor the 1.5″ hole spacing and imagine 2″ hole spacing throughout is great too…anything spaced more, or less than the above mentioned I think would be an inconvenience, or might require some “Work arounds” to accommodate proper height adjustments in my opinion.
On a side note, some people dig “Westside” hole spacing for a more personalized fit and almost unlimited adjustment points, I think the idea is in the right place, for me personally I didn’t care for it, but to each their own and no disrespect to the ones who like it, or have it in their homes, or gyms.
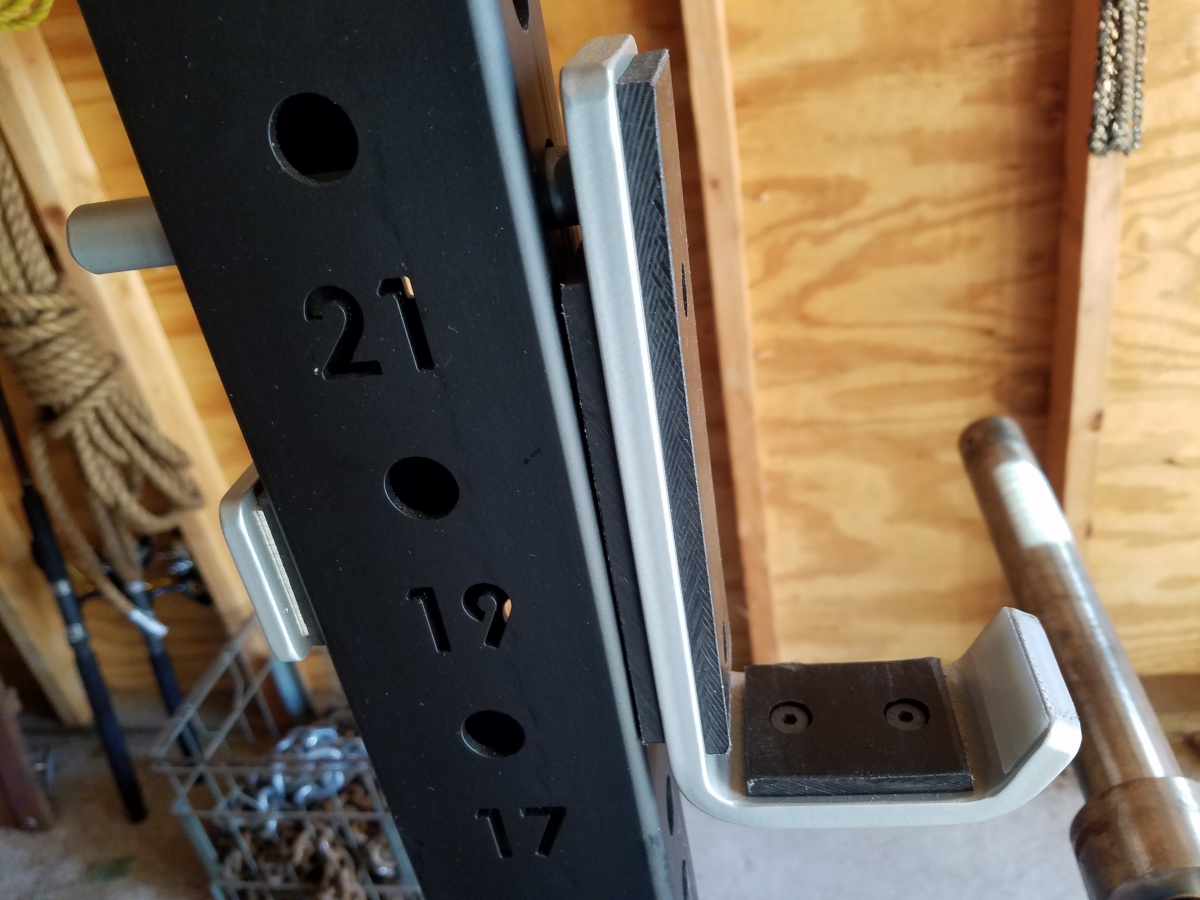
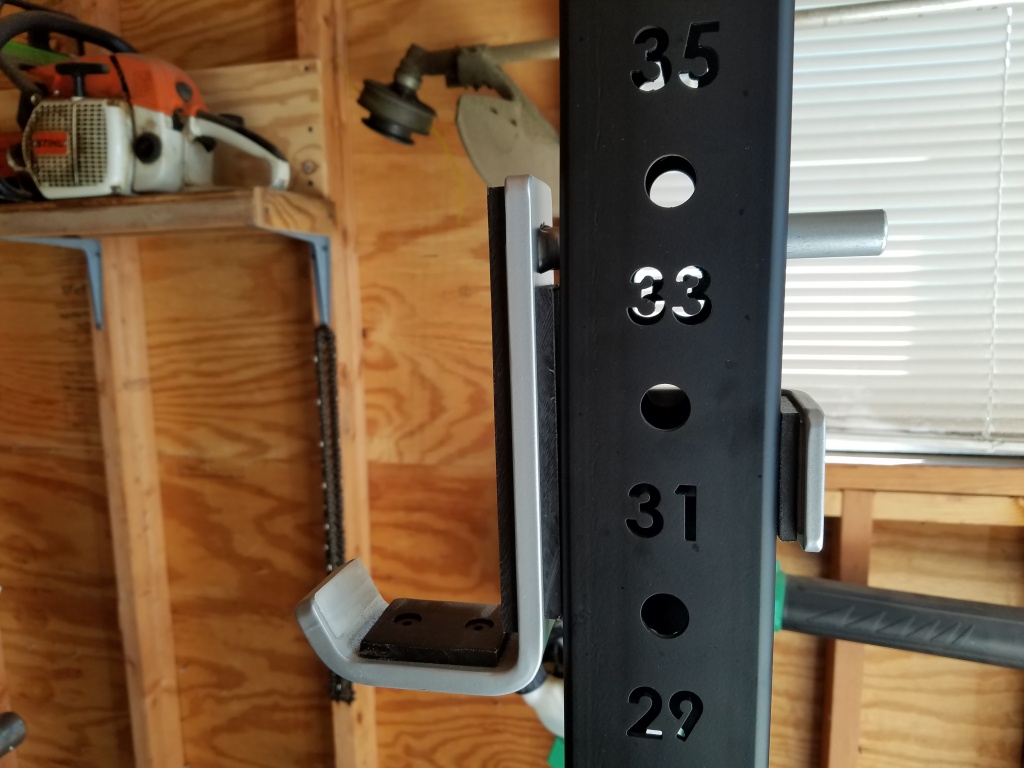
Here’s a close up of the 1.5″ hole spacing on my power rack…
Rack Height
Since my garage is around 8.5′ in ceiling height and I wanted enough space inside the rack to overhead press at full lockout, I went with 7.5′ tall for the rack and it fits me just fine at 5’8″.
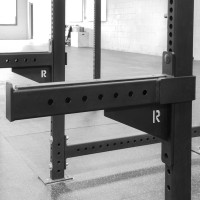
Lower Side Cross Members (Raised or Touching Ground)
Depending on which company and power rack you choose they could be flat to the ground, or raised for sumo stance on deadlifts, or widely stanced squats.
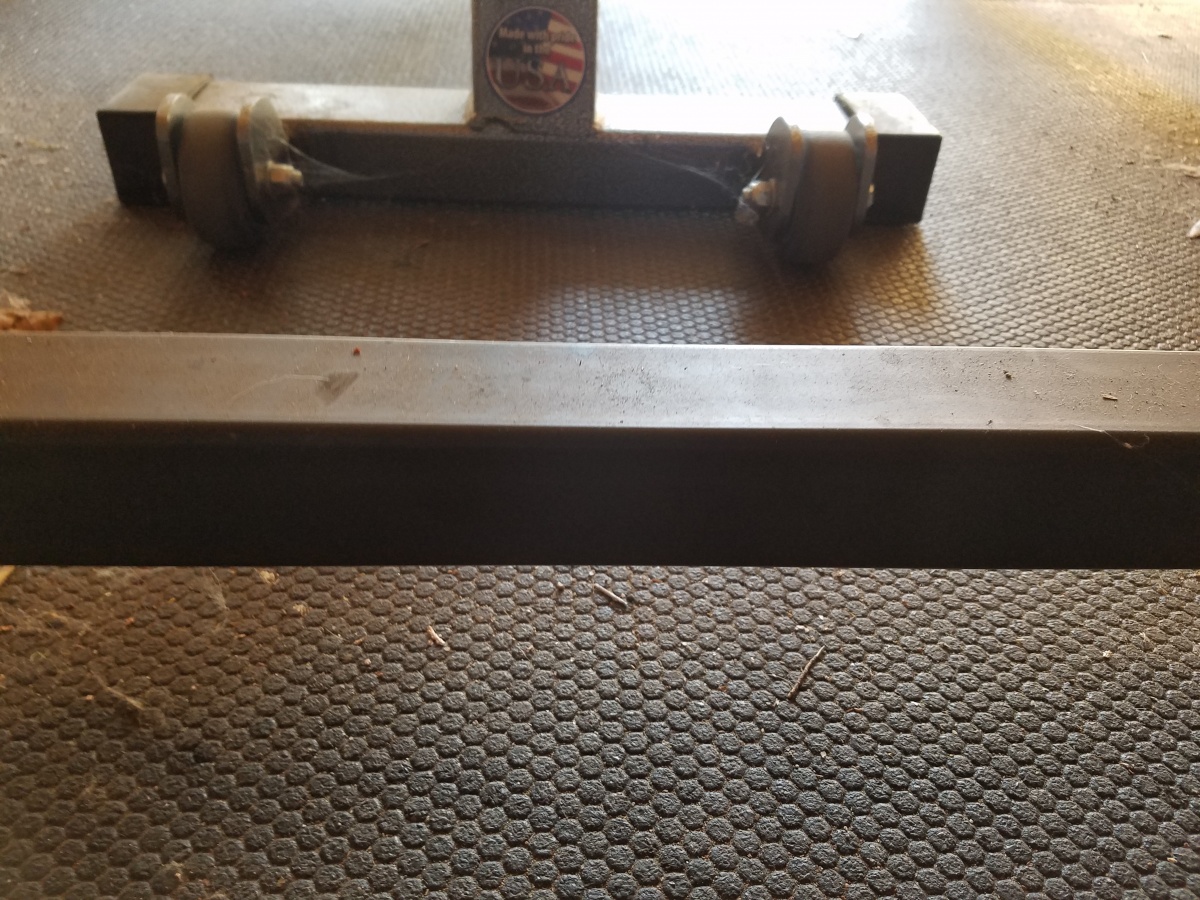
Mine are raised, didn’t cost me any extra and are good to have should I ever want to switch to sumo deadlift here and there, although I’ve barely been sumo deadlifting and my squat stance isn’t nearly that wide for my feet to be placed underneath them, however they do have an extra benefit to avoid stubbing your toe (although it’s not too common you walk through the rack that way)…this feature is actually placed on the back of my weight storage area where the lower stabilizer 2X2 cross member gives the rack extra stability to not have to bolt it down, it is raised a few inches to avoid tripping hazzards as well as to not stub your toe when walking back there (I find that it’s spaced far enough back to not impede my bench adjustments as well).
Accessories
Here’s a list of what I opted for on, or with my rack…
Two sets of J-hooks with UHMW – I got two sets of these, one pair for one side of the rack to bench with and the other pair for the other side of the rack to squat and overhead press with, I also use one set to load the bar and un-rack the bar to set up on the floor for barbell rows and deadlifts inside the rack (the UHMW protection on each contact point in the J-hooks are a nice touch and are holding up good as well as keeping the bar’s knurling protected).

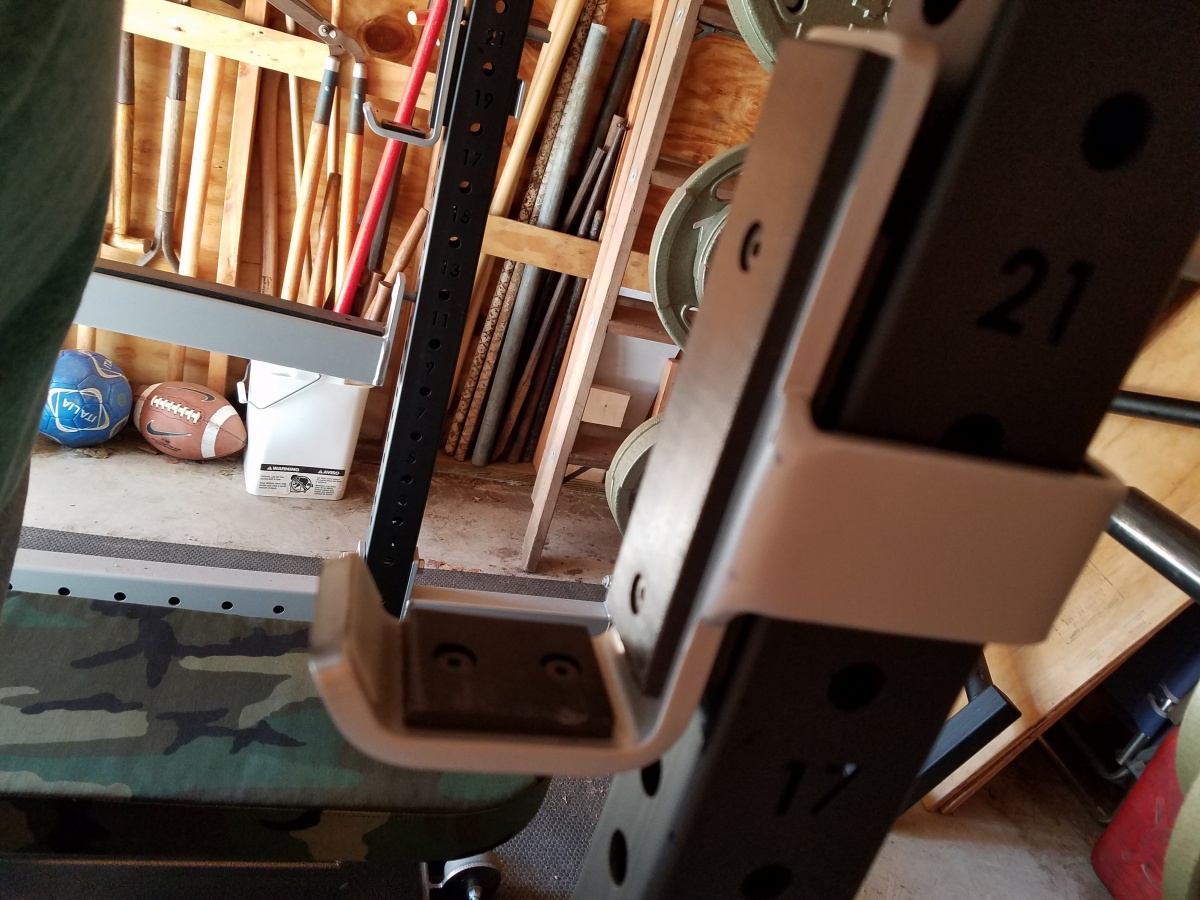
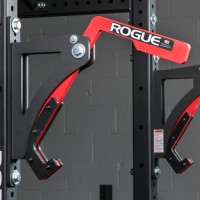
UHMW Flip-Down Safeties – These are better than rod and pipe safeties in my opinion which I found to be a pain (particularly with 1″ spacing at the time) to adjust and set up (to be fair though, rod and pipe safeties do serve their purpose for say rack pulls with a beater bar), but for me I don’t really do rack pulls, so flip-down safeties are the best in my opinion…they’re quick and easy to adjust, plenty strong and safe and I find that even if you mistake the right hole adjustment it just doesn’t lock in so you know it and it takes barely any time to adjust it correctly, plus again the UHMW does a great job of protecting the safeties and bar and is a great touch.

Laser Cut Numbered Posts – This is not a necessity by any means, but it doesn’t stop it from being a great feature to have if it’s a viable option (some custom fab shops and companies have this option).
I chose to add the numbered posts for peace of mind and remembering where each of my J-hooks and flip-down safeties go (I don’t use a lot of different adjustments, but when I switch something out, or around it’s good to have available), you can also get by with stickers, or certain types of markers, but with the laser cut numbers it’s more aesthetically pleasing and won’t wear off.
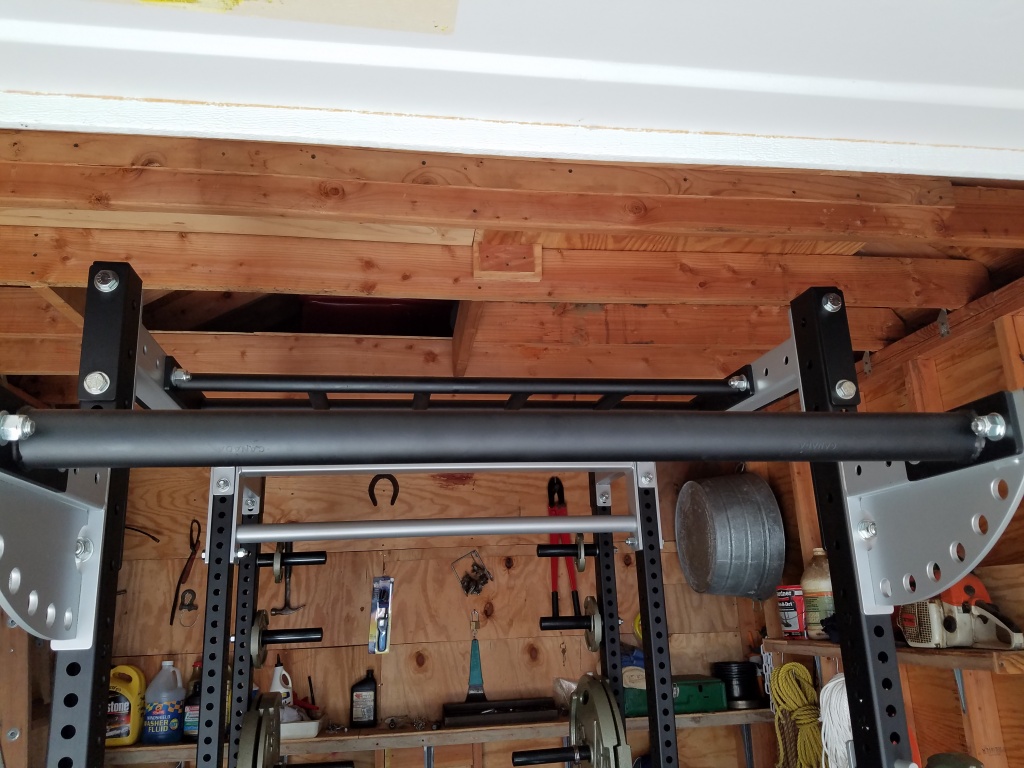
Pull up bars – I have a monkey chin bar (one side with 1″ diameter pull up bar, the other side with a 1-1/2″ diameter pull up bar and two sets of 1″ neutral grips both wide and narrow grips), a 2″ fat grip pull up bar and in the back as part of the K-brace another 1-1/2″ pull up bar.
You can definitely get by with even just one 1″, or 1.25″ diameter pull up bar, or a skinny/fat pull up bar combo (which would be 1.25″ diameter and 2″ diameter) for a few good variations.
Note that some skinny diameter pull up bars such as Rogue’s are 1.25″ and some are 1″, but either diameter is good.
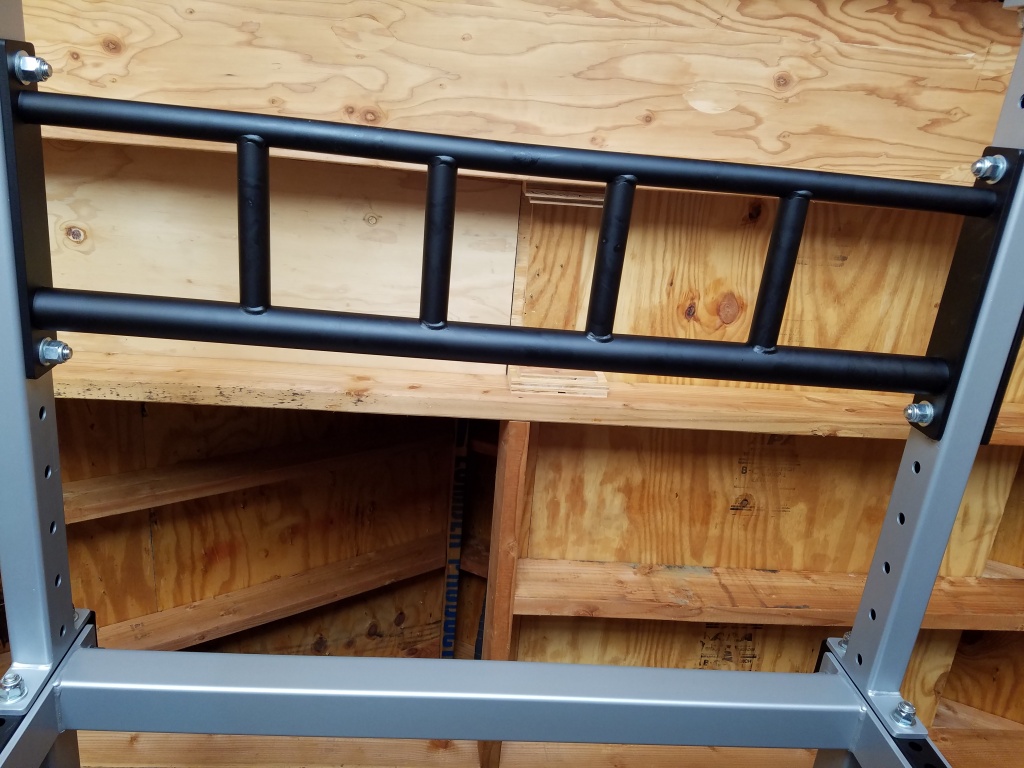
Front porch attachment – To hold the additional pull up bar (in my case the 2″ fat pull up bar is in the front of the rack attached to the front porch), this also adds more heft to the power rack and places it slightly lower than the garage door for more clearance when put together.
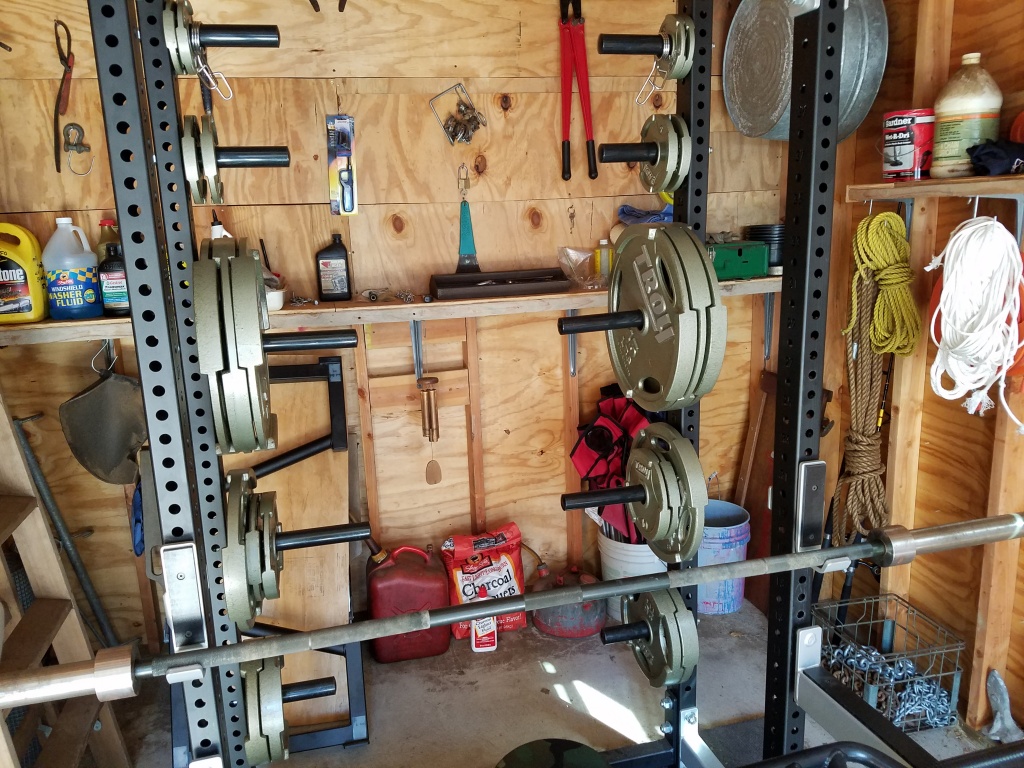
Bolt-together weight storage area – Conveniently holds my weight plates, adds extra weight to the rack and has a slick PVC type plastic coating which slides the plates on and off easily (I bolted my weight storage pegs inward due to space constraints walking around the garage to get tools and such and it has held up nicely).
I put my 2.5 lb plates up top, my 5s below the 2.5s, my 45s around chest level, my 35s and 10s below the 45s and 25s at the bottom (I’ll probably eventually switch the 25s up higher where the 10s are, but it’s been fine there).
Dip attachment – I wanted to add a dip attachment with my rack and went for the version that lays across the safeties instead of the one that mounts to the holes on the upright of the rack, there’s a few reasons why I didn’t want this version…
The one that mounts on the upright puts your body weight plus the weight on the dip belt (if being used) onto the attachment which when being mounted to the upright puts a lot of pressure on the attachment hole(s)/upright(s) (this may, or may not be a structural issue on the power racks depending on how they’re built), but for me I feel better about the weight being dispersed to the four connection points with the dip attachment that lays across the safeties.
One more reason why I don’t care too much for the upright mounted dip attachment is because if you have any attachments over head (depending on how your rack is configured and your height) you might have to avoid hitting your head on say a pull up bar attached above (due to not being square in the middle of the rack with the upright mounted version, but rather in a corner of the rack) and this version of dip attachment (due to its shape) isn’t any more portable than the version that lays flat across the safeties.
If I had to place each of the three versions of dip attachments in order of which I like best it would look like this…
- Stand alone dip attachment- Nothing beats conveniently walking right to your own dip station after all the main lifts get done in your power rack (slight con would be if you had space constraints for this version).
- Dip attachment that lay across the safeties- This would be a close first for me since all you have to do is lean it against the wall when not in use and along with flip-down safeties it’s quick to adjust them before you lay the attachment on the safeties and gives you even more versatility inside your power rack in a small area.
- Upright mounted dip attachment- This is still a nice option for the versatility and portability for the small space inside your power rack and especially if you have other types of safeties instead of flip-downs such as, rod and pipe, sabers, or safety straps.
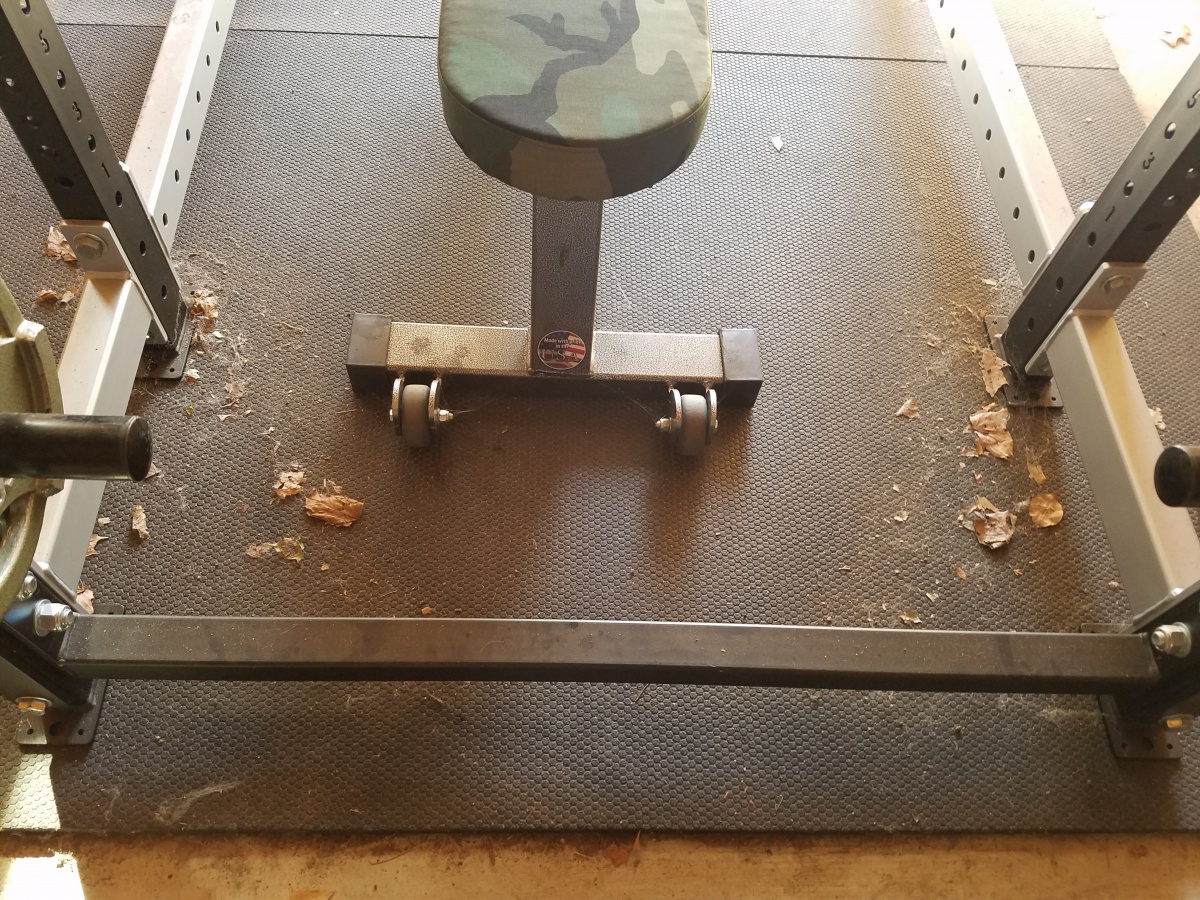
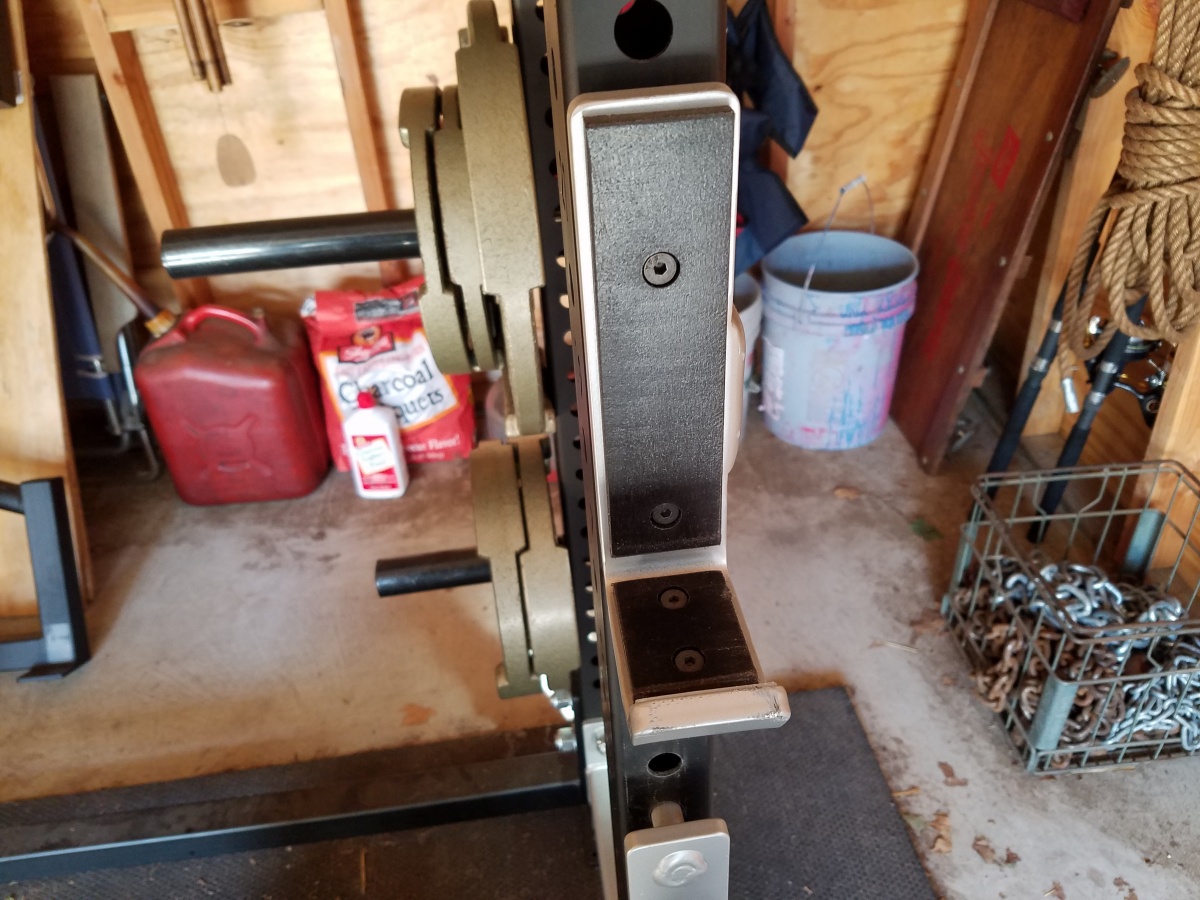
Here’s my dip attachment leaned against the wall…

Holes throughout the sides of the rack- For ultimate add-on capabilities if need be…inspired by Rogue and what they do best!
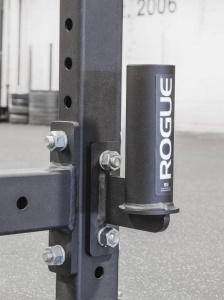
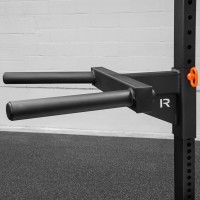
Barbell holder – I thought I might have needed this and since have procrastinated on bolting it onto the rack (since I have a second bar in the rack and might see about a third one at some point, I’ll probably bolt this nearly 2 year old attachment on the back of the rack soon).
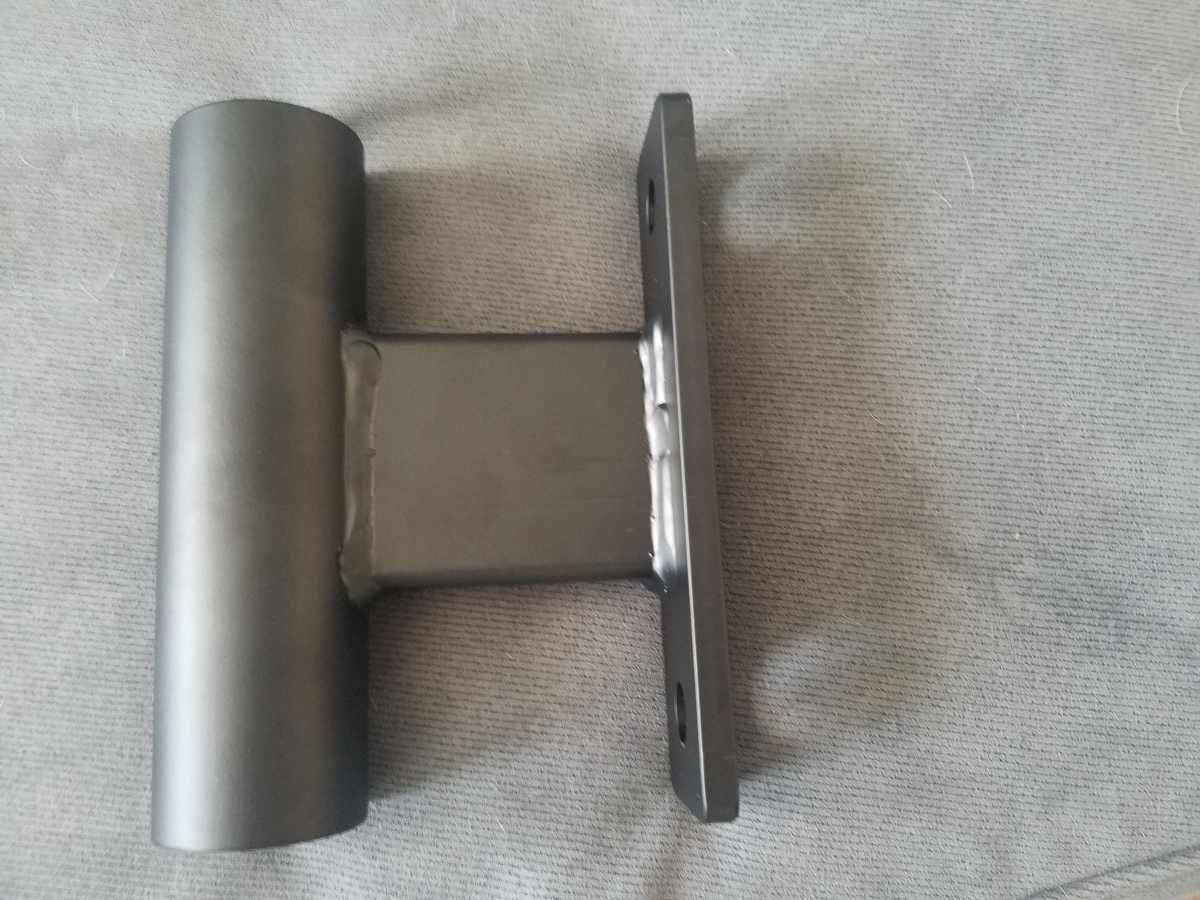
This bar holder attachment conveniently bolts to the back of the weight storage area and is welded to a backer plate in one attachment piece, also this bar holder hole goes completely through which is desirable because…
- It won’t add extra height to your bar standing vertical towards the ceiling.
- I think I heard the closed bottom portion bar holders can cause humidity to the sleeve depending on the temperatures in your workout area and how long they sit in there, so the hole that goes through is more ventilated.
I could be slightly off on the technicality of 2, but I did hear something along those lines about it.
Here’s a pic of the bar holder (note that mine is slightly offset to the side to avoid the interference with the wider diameter plates on my storage area when it is bolted)…
Color combination – I decided on flat black for the uprights (I chose it over a gloss coat because a flat coat is a bit more resistant to scratches) and a flat sky gray/silver for the upper and lower cross members as well as for the K-brace and front porch attachment, the powdercoat combo turned out to look epic without being too flashy.
…And just for fun here’s the list of “Rejected accessories” that I decided not to get (to save a bit off of what I wanted to add to my rack), here’s the two items I traded off…
Rod and pipe safeties – By default the fabricator traded them out since I wanted flip-downs instead, which saved me a bit of money off of them.
Band pegs – These were included with the rack, but since I don’t do much band work I decided not to get them and saved a bit more money off the features I did want.
On a side note and as an “Honorable Attachment Mention” I was thinking of getting and discussed getting the custom fabricator’s monolift attachment (at the time) for my power rack, but I had already invested in what I needed for my custom rack to have and do and they were therefore lower on my workout equipment priority list, so I thought about possibly getting it at a later time (the custom fabricator is taking a break and is not currently making anymore pieces), but if he gets back to building things again, I might possibly get the pair of monolift hooks he makes.
If he doesn’t and I decide I still want the monolift hooks, then I might go with Rogue’s since their attachments are compatible with my power rack too.
In conclusion when choosing a power rack of your own, keep the things you need and know that you’ll use out of it and eliminate what you don’t need…It’s a big decision in connection with the iron realm, but whatever power rack you choose always consider its sole purpose of being built as a top priority to keep you safe and alive is where the “Coveted” power rack shines!
Editor’s Notes:
Tony ended up getting those custom monolift hooks after all.
The closest you can get to this custom rack, in terms of a commercially available one, is the Rogue R-6. It’s compatible with all of Rogue’s Infinity Series attachments. Here’s the top 3 that many people add:
Hi, really nicely built! I’m planning on building my own powerrack too, but I don’t know at what height I should start drilling the holes. Would you mind telling me the distance from the floor to the first hole? Thank you
Hey Phil,
Thanks, if you’re referring to the measurement from the floor to the very lowest adjustment hole, then it’s 12″.
If you mean from the floor to the very first hole where the bottom side cross members would attach then on mine it’s 3″ (bottom bolt) and 9″ (top bolt). I hope that helps and let me know if you need any additional information on the rack.
Hey that is inspiring rack to build, I have a foldable one but I want to build one like yours.
What is the brand of your Front porch attachment and dip attachment, or they are custom built? Thank you.
Hey Andriy,
Thanks, the front porch and dip attachment were both custom built.
Hi Tony, that’s an amazing rack. I see that many flip down safeties have the holes on the side but are missing from yours. Besides using weight pins on them for dips, do you think the holes are necessary?
Hi Steph,
Thanks and to answer your question, I don’t think the holes on the sides of the flip downs are really necessary.
My dip attachment lays right on top of the flip down safeties and have side lips to avoid it from sliding off of the safeties, with other style dip attachments you would use the side hole(s) on the rack uprights and the side holes there are really the only coverage you would need for optimal modularity with any compatible accessories to attach on to the rack.
Hey I am curious about a specific few details.
1. Are the holes on your power rack offset? Maybe my eyes deceive me but when I look at power racks like the monster rack the holes seem to not be lined up in different sides of the uprights.
2. How much did this cost? Is this cheaper than rogue?
3. Who built this for you and what kind of shop should I be looking for?
Hey Rob,
1. If you’re referring to the main hole spacing on the rack, they’re 1.5″ spacing which was standard on the custom 2X3 and 3X3 racks with 5/8″ holes (at the time if going with 3X3 and choosing 1″ holes then the spacing would’ve been 2″ spacing instead).
If you mean the side holes, I requested laser cut numbers on the 2X3 upright sides which had to be numbered with odd numbers in order to fit between each side hole for that size tubing.
2. At the time the pricing with all the bells and whistles I requested for on mine was priced slightly less than some mainstream companies out there and some of those mainstream companies were priced differently a few years back before the steel prices went up.
3. A builder out in Canada built it for me, but he no longer takes on big projects like this and occasionally builds a few limited small accessory items, or sells off a few extra stock accessories.
Your best bet would be either to go with a mainstream company that has some modularity to their racks and getting the added features you want (such as through Rogue, or Sorinex), or for custom work try Black Widow Training Gear, or Edge Fitness Systems…keep in mind that pricing for racks and custom work will be different these days in contrast to a few years back, also there might be a hold on requests and orders due to the pandemic.
Hope that helps, let me know if you have any more questions.
(I have no idea why the reply won’t indent despite indenting it, but hopefully it can be interpreted ok).
I fixed the comment formatting after seeing this. Long comments were being unformatted with a “read more” link that would then show it formatted right. Now it just shows the entire comment to begin with.
Thanks for your blog. It is detailed and very helpful.
No problem, glad I could help and thanks for reading it.